
Chapter 2
Getting started: login and interface
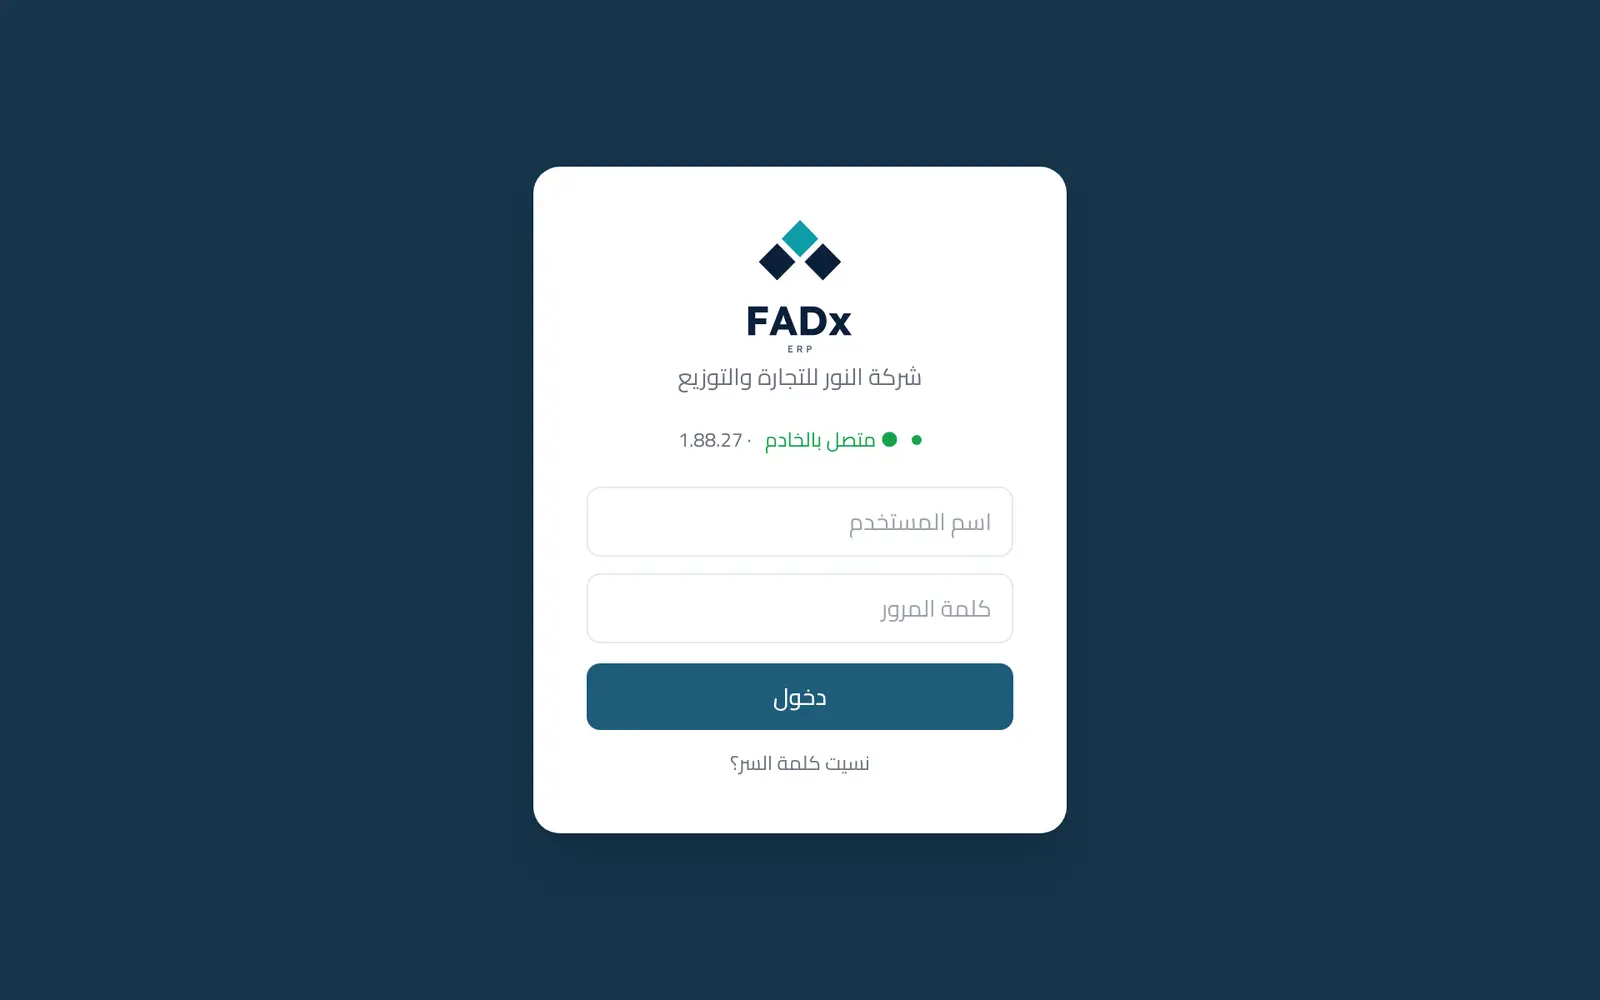
Work begins by signing in with a username and password. Each user has their own permissions, and the menus they see match what they are allowed to do.
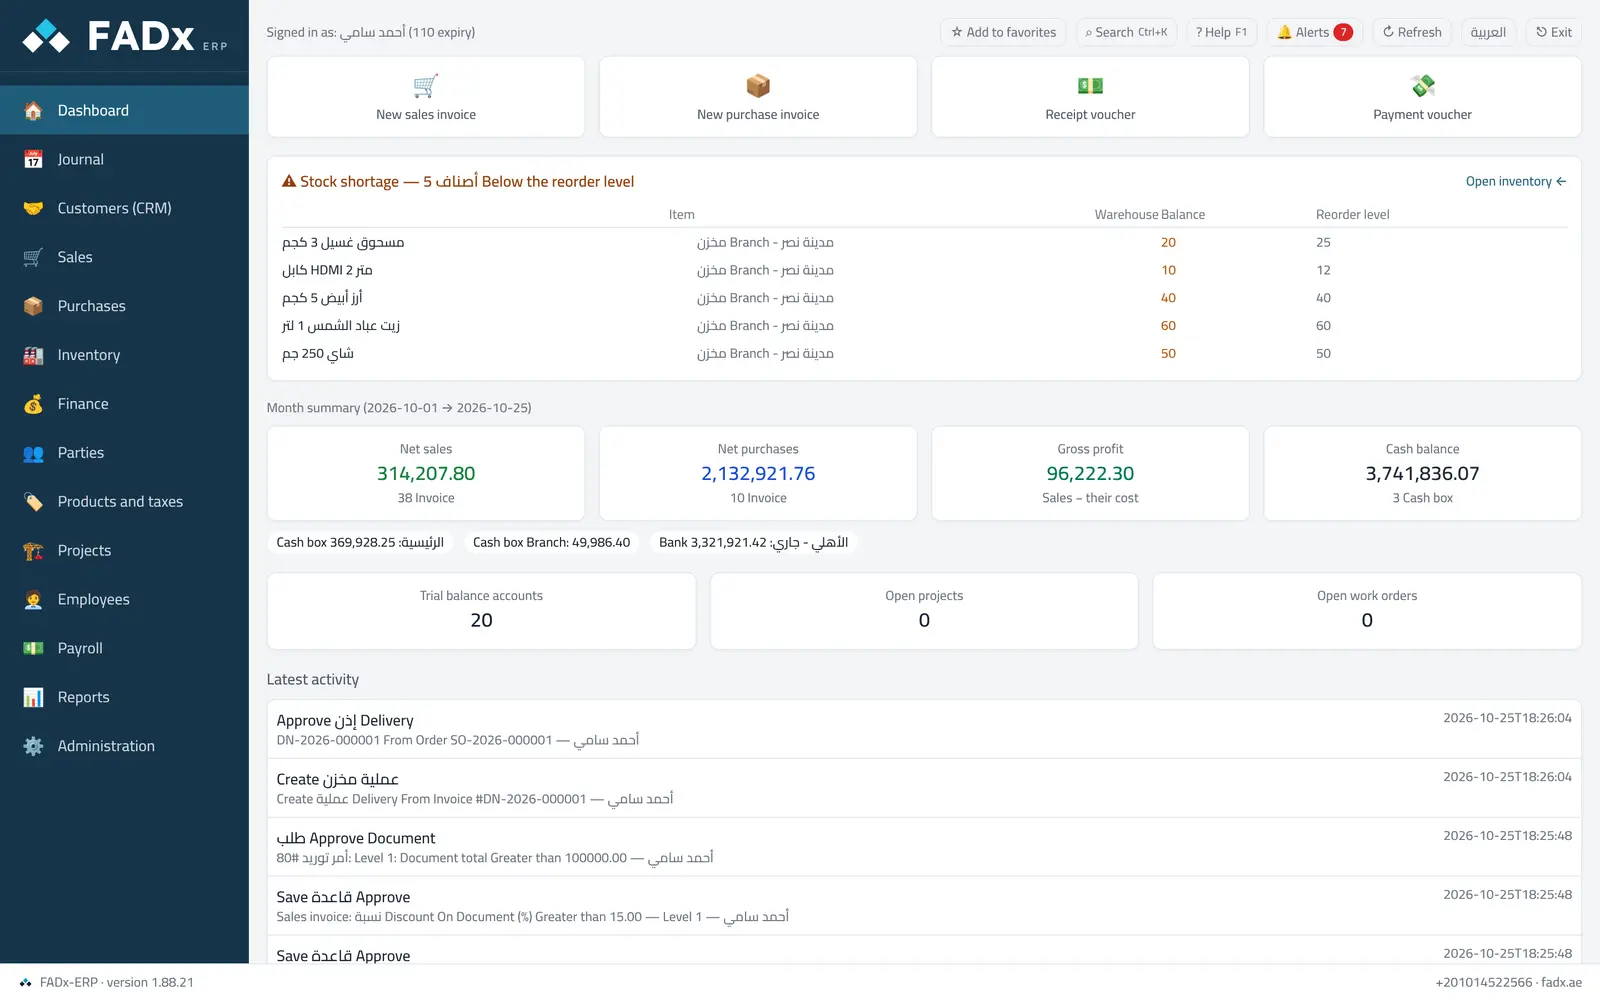
The side menu holds the system sections: Dashboard, Journal, Sales, Purchases, Finance, Inventory, Parties, Products and taxes, Projects, Employees, Payroll, Reports and Administration. Each section opens its own tabs along the top of the screen.
Common workflows
- 1
Add to favourites ☆
Pins the screen to the top of the menu so you reach it in one click.
- 2
Search (Ctrl+K)
Type the name of any screen, report or setting and jump straight to it.
- 3
Help (F1)
Explains the open screen without leaving it — it appears beside your work.
- 4
Alerts 🔔
Due cheques, items below reorder level, approvals waiting for you, and budget overruns.
- 5
Arabic / English
Switches the interface language for this user alone — invoices stay in Arabic.
- 6
Exit
To switch user (between one cashier and another, say) without closing the program.
- 7
Forgot your password?
A link under the sign-in button: recover it with your recovery code, or ask the administrator to reset it — see the "Password recovery" chapter.
Messages you may see — and what to do
- Confirmation dialogs
Every irreversible action (approve, post, bounce a cheque, close a session, deactivate…) asks first in a dialog that explains its effect — "Back" changes nothing.
- Newest first
Lists (items, parties, users, employees, cheques, assets…) show the most recently added entries at the top.
Question not covered here? Message us on WhatsApp and we will answer.
Ask on WhatsApp